I’ve been blogging for years and years. I started off like anyone else in the early 2000’s and just blogged about life, scrapbooking and my babies. My husband encouraged me a few years after I started this to share recipes. Which I did. That’s when I noticed a little more traffic and comments. Oh, I remember the days when I would check multiple times a day to see if anyone left a comment! It was exciting to share what I loved with the “world”.
It wasn’t until Pinterest came along that it all became a game changer in the stats department as I’m sure it was for many of you. Three years ago one person decided to pin one of my recipes that brought me from 200 daily page views to 30,000 in one weekend. That recipe still is a huge hit today! The key is it only takes one. So, why not make that one pin the best you can?
Many of you now monetize (like I do) and it’s no secret those page views matter. I truly am loving blogging (again) and don’t solely do it for the $, but it does help out our little family a bit! It wasn’t until the beginning of this year that I figured out to make it easier for others to pin my posts with two tiny changes. I’m a simple blogger, so this will not be technical AT ALL!!! This is only for Blogger users.
Step 1. Compose your post and add your pictures.
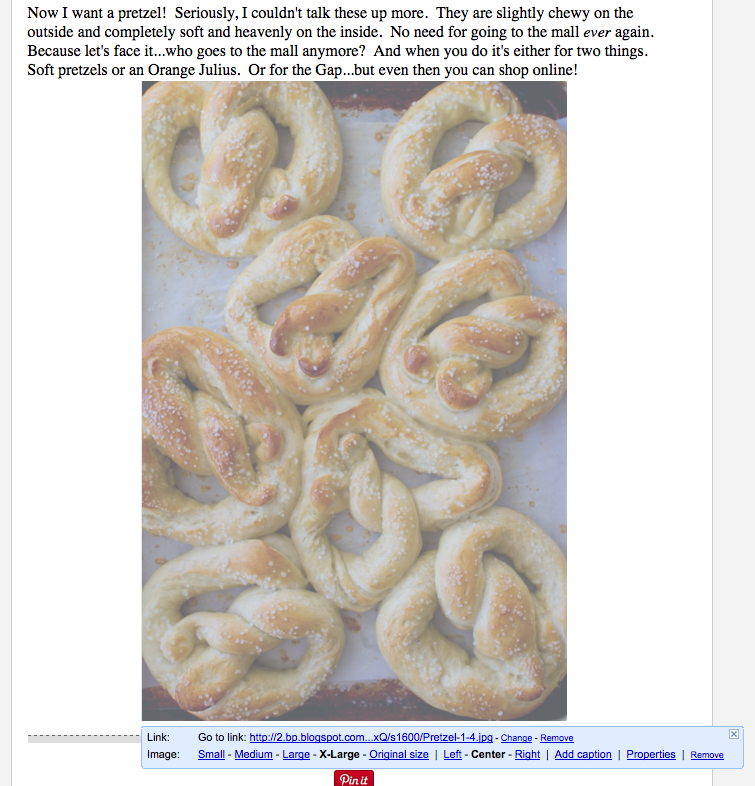
Step 2. Click on your image and an options bar will pop up. This is where you can resize and place your picture. This was all I was using it for up until a few months ago because I didn’t know what to do with the other options.
Step 3. Click on the Properties option.
Step 4. Another box will pop up and this is how you are going to make it easier for others to pin your post and pictures.
Step 5.(First way) The Title Text is what you can name your picture. For my Pretzels post, I just added the recipe name plus my site name. You don’t have to add your site name, but it’s just another way to spread the word, right? (Second way) For this picture I put the same text into the ALT text (alternative text). ALT text plays into your SEO and how your images are searched. So, if someone is searching for chewy or pretzels, my post will come up in that search. You can always put more of a description under your ALT text to drive more interest. I sometimes do.
Step 6. Make sure your repeat steps 2-5 on ALL of your images within that post. You can keep the same text or mix it up a bit on each of your pictures.
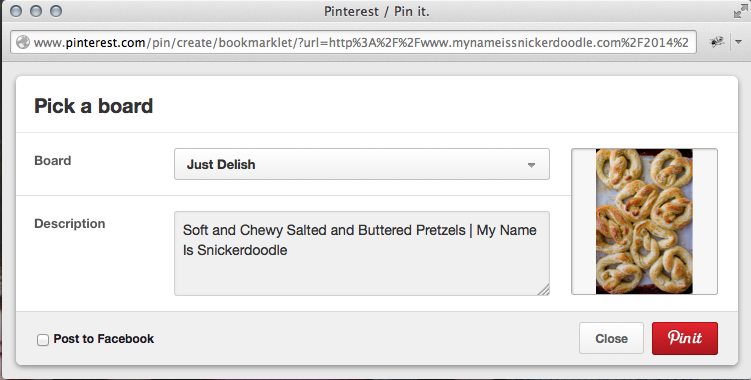
Step 7. Here’s what makes it easier for the pinner. Whether they are using their toolbar Pin It button or even a roll over one, when this box comes up, it automatically puts your Image Properties into the Description field. Easy peasy, right? The pinner can still change the description of course, but this gives you a little more control of how your pin is described and searched for. Most people don’t change it so that’s a plus for you!
I truly hope this helps some of you! It definitely helped me be a little more organized and I love that I can make it easy for other Pinterest addicts like myself!
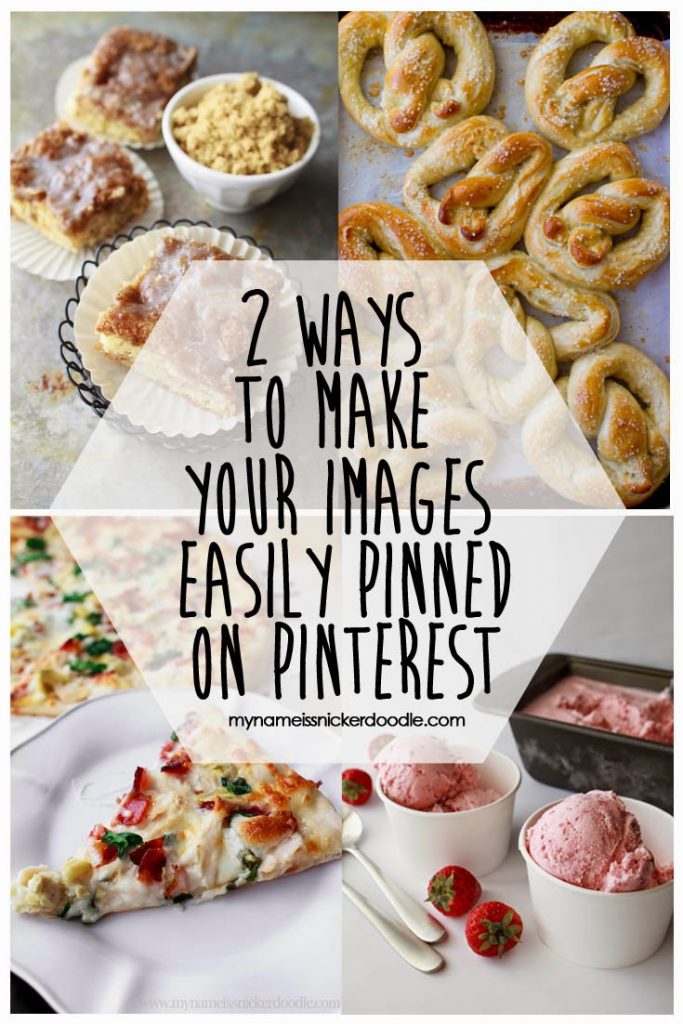
Recipes featured in the image above…
Honey Bun Cake
Soft and Chewy Salted Buttered Pretzels
Chicken Artichoke Bacon Pizza with a Creamy Garlic Sauce
Strawberry Ice Cream
This post is linked up at – Totally Talented Tuesdays, Wow Me Wednesday, Whimsy Wednesday, Riverton Housewives Round Up, Live Laugh Rowe, The Weekend Re-Treat, The Creative Collection, Super Saturday, Link Party Palooza, Friday Finds,
