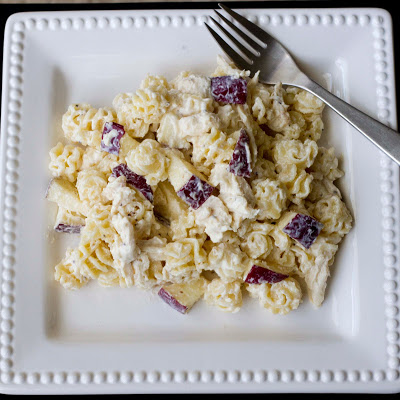
I was trying to summon in fall by making this recipe earlier this week. It’s just such a comfy dish. 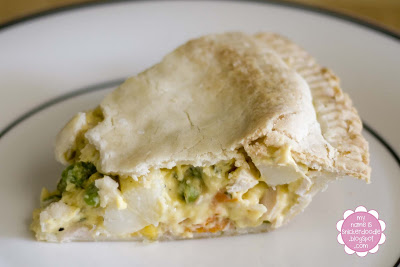
Chicken Pot Pie (That Anyone Can Make!)
2 frozen pie crusts in pie tins or 2 refrigerated pie crusts if you have your own pie plate
2 cups cooked and chopped chicken (I use rotisserie)
3/4 cup frozen peas, thawed
3/4 cup frozen corn, thawed
3/4 cup cooked carrots, chopped
1 1/2 cups parboiled potatoes, chopped
2 TBSP dried minced onion
1/2 tsp pepper
1/2 tsp salt
1 10 oz can cream of chicken (about 1 3/4 cups)
1 10oz can chicken gravy (about 1 3/4 cups)
If using frozen pie crust, thaw in refrigerator for about 4 hours. If using refrigerated crust, place one crust into pie plate and form. In a large bowl, mix together cream of chicken soup, chicken gravy, salt, pepper and minced onion. Add in remaining ingredients and mix until well blended. Pour into pie crust. Wet the edges of crust with water. Place second crust on top and crimp edges together with your finger or with a fork. This will help seal them together. Using a knife, cut a few hole into the top for the steam to come through while cooking. Place on cookie sheet and bake at 350º for 45-60 minutes. Watch closely so the crust doesn’t burn, but the inside is nice and bubbly. If your edges start to get brown and your pie is not fully cooked yet, cover the edges with foil and continue to cook. Let cool about 5-10 minutes before serving.
***You are more than welcome to use a frozen mixed veggie blend, but I had all the ingredients individually on hand. I just chopped my carrots and cooked them in the microwave with a little water, about 5 minutes, or until tender. I did the same with the potatoes. I actually over cooked them so that is why you need to parboil them.
***This recipe is great to double and freeze the second pie for later. Just thaw it for about 1-3 hours before baking. Your cook time will be a little longer if it is still frozen in the middle.
I have held onto this recipe for years…when I was still subscribing to Martha Stewart Living magazine. For some odd reason I was always afraid to try it. When I promised you all that I would actually get some more dessert recipes on here, I knew I had to brave this one. It’s actually two recipes in one. Originally it calls for you to cool them completely then chill for a fudgy, heavenly goodness (which they are)….however…one happened to split open as I had turned them over to the cooling rack and all of this molten, chocolatey goodness came running out. I practically (so what if I did) licked the plate clean! So here you have it (altered a bit).
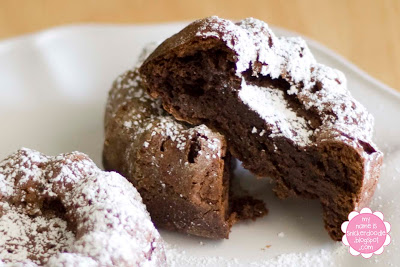 Chocolate Truffle Cakes
5 tablespoons unsalted butter, plus more for muffin tin
1 tablespoon all-purpose flour, plus more for dusting
14 ounces semisweet chocolate, chopped
2 tablespoons sugar
2 large eggs
1/4 teaspoon salt
Preheat oven to 375 degrees. Generously butter a standard 6-cup muffin tin. Dust with flour, tapping out excess; set aside. Put chocolate, butter, and 1 tablespoon sugar in a medium microwavable bowl. Heat at 10 second incriments, stiring in between until melted. About 30 seconds total. It will be pretty thick. Process eggs and remaining tablespoon sugar in a food processor or blender until pale and doubled in volume, about 2 minutes. Sift flour and salt into egg mixture; pulse to combine. Add chocolate mixture 1/4 cup at a time; pulse each addition until combined, about 10 times. (Batter will be thick.) Spoon mixture into the prepared muffin tin, filling cups three-quarters full; swirl tops with back of spoon. Bake until tops are springy to the touch, 18 to 20 minutes. Immediately turn out onto wire racks; reinvert, and let cool.

