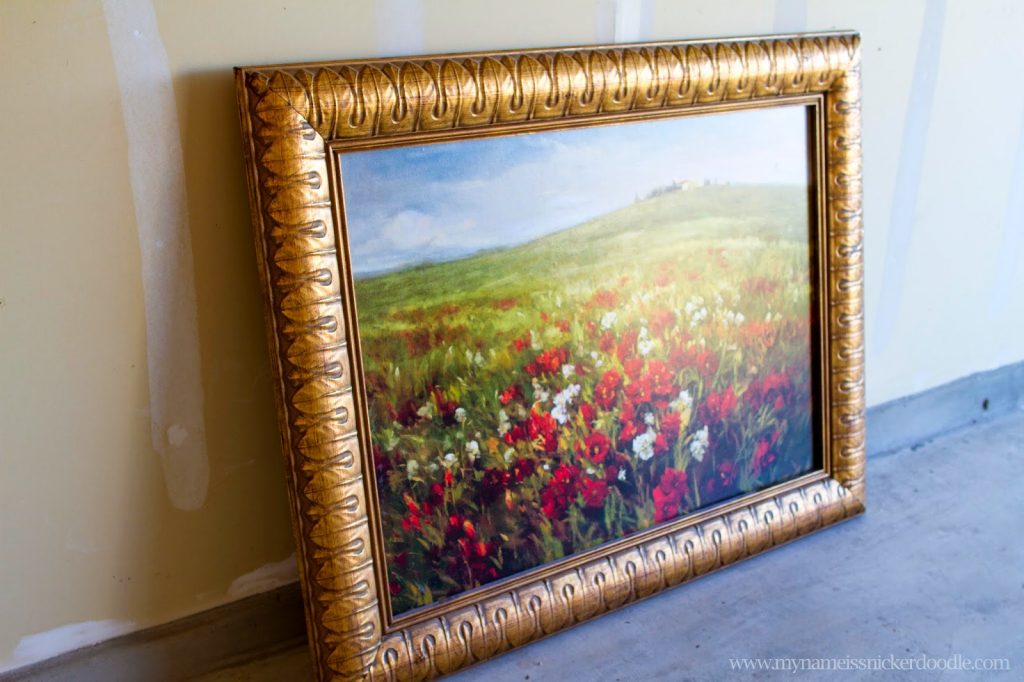
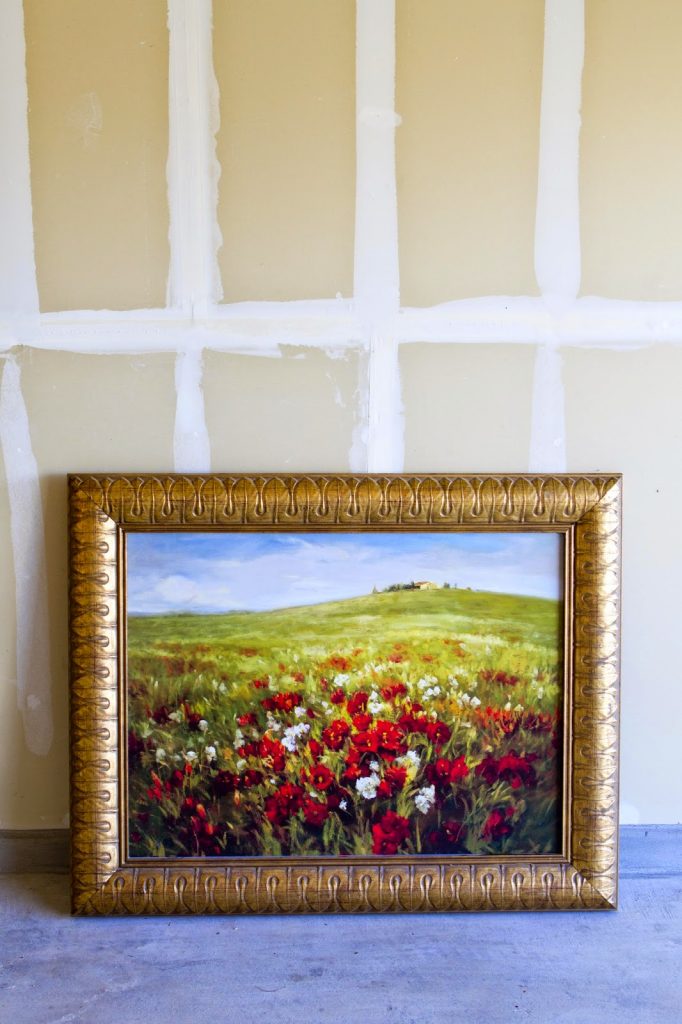
Years ago my husband and I were on the look out for some sort of art to fill a very large wall in our apartment dining room. One night while we were out and about, we had some to time to kill so we wandered into Kirklands. Just glancing around, we came across a beautiful “painting” in a gorgeous frame that was severely marked down in price. Originally I think it was around $398.00 and we purchased that sucker for $78! Did we love it…no. Like was even a strong word, but we felt like we got a great deal (which we did) and hung it up the next day. It filled the space lovely, but we quickly had buyers remorse when the more we looked at it, the more we knew it wasn’t our style…AT ALL!
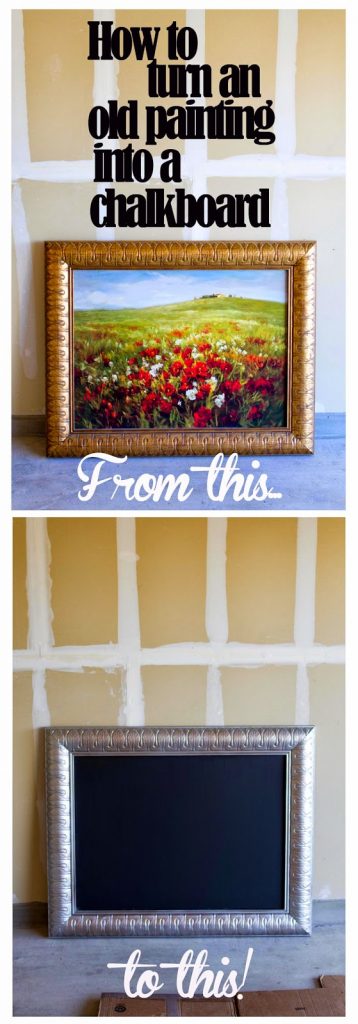
About a year later (yes, we kept it up there because I just had 2 babies 18 months apart and decorating was the furthest thing from my mind!) I was feeding one of the littles and it came to me that I might be able to turn it into a fun chalkboard. The “painting” was really a picture with some slightly textured paint thrown over the top. We already loved the chunky frame, but didn’t have any gold in our home. I had big plans, but two things got in the way of it. We were still living in that tiny apartment so I had no where to set up shop and two, we found out we were possibly moving!
It wasn’t until we finally got settled into our new place here in Austin that my little dream came true and I was able to start and finish a pretty big project!
2 cans of silver spray paint (I used Krylon)
Newspaper
Sand paper
Black chalkboard paint (I used Rustoleum)
Small roller brush
Chalk
My painting is about 40×50 so pretty big and very heavy!
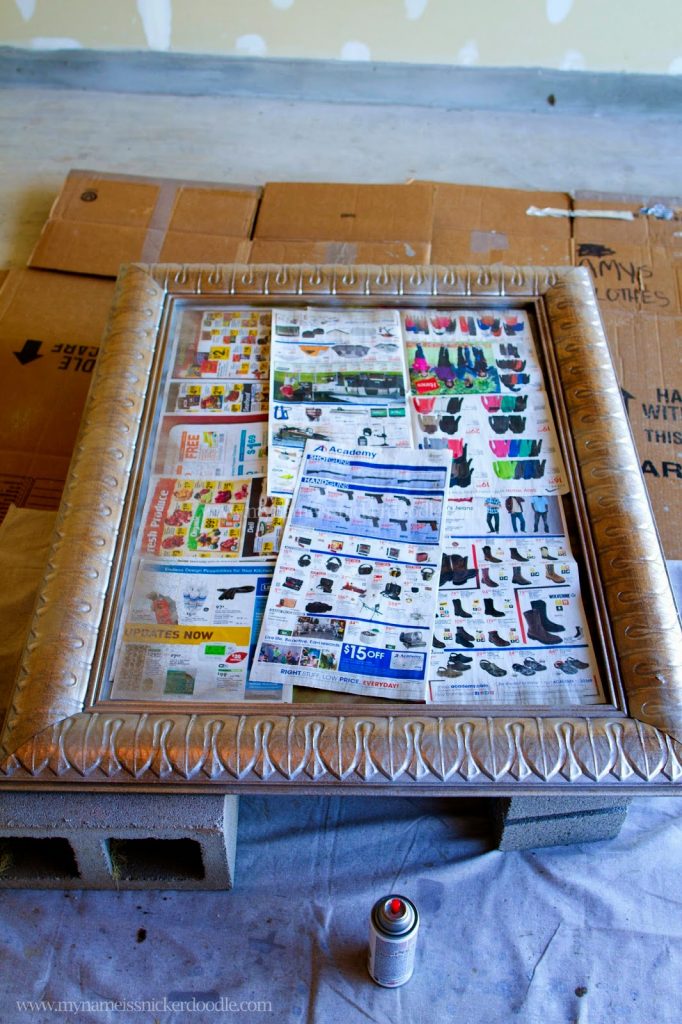
I gave the frame a light sanding with fine grit sand paper just to tone down the sheen of the finish. I didn’t bother taping anything off, but I did put a layer of newspaper down just to protect it from any over spray or splatter. I used about 1 1/2 cans of silver spray paint and gave it a good coating. The picture below was just the first coat and you could still see some gold shining through. I waited about 30 minutes before applying the second coat. A good tip when it comes to using spray paint cans is actually to follow the direction on the label. Genius, right?! I mean, who would have thought!
I also like to hold my can upside down, with the lid still on and give it a good shake for about 2 minutes before using it. Who knows how long it’s been sitting on the store shelf?
I didn’t get an in between shot of painting the chalkboard on (and it’s bugging me right now!), but oh well!
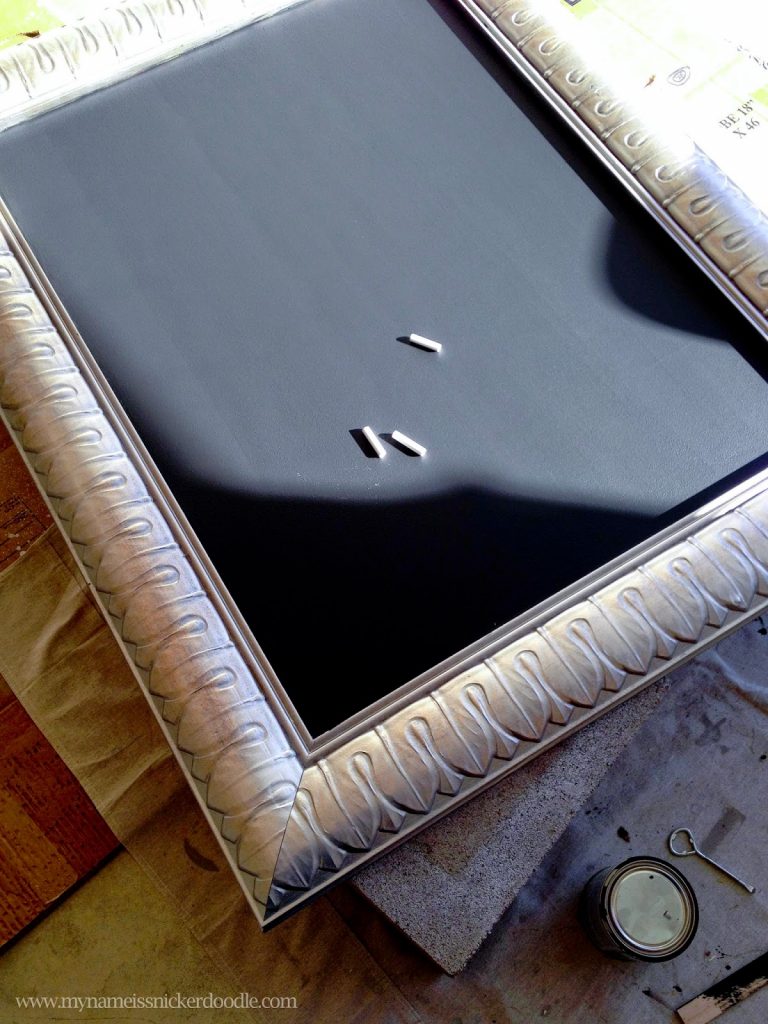
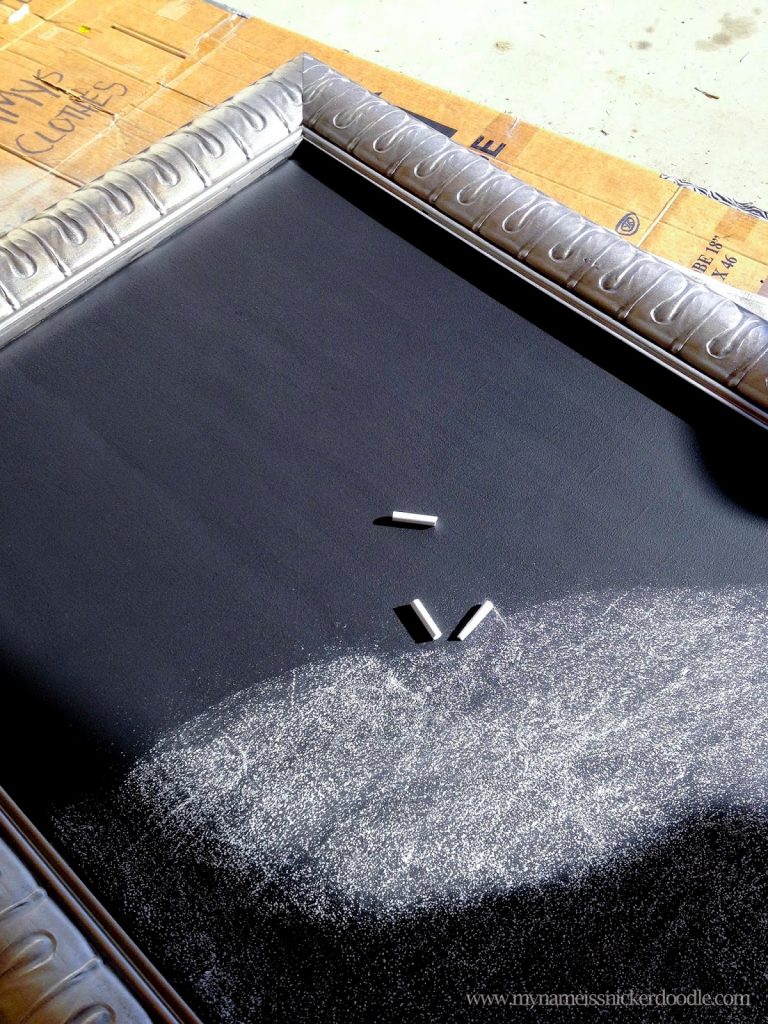
Since I was painting over a “painting” I ended up doing 5 coats of chalkboard paint. My original surface was slightly textured and I actually liked it. I thought it would help with the whole texture of the chalkboard paint. I waited about 1 hour between each coat. I also rolled each coat in the opposite direction of the coat before. Then I waited 24 hours for it to completely dry before I “cured” it with chalk.
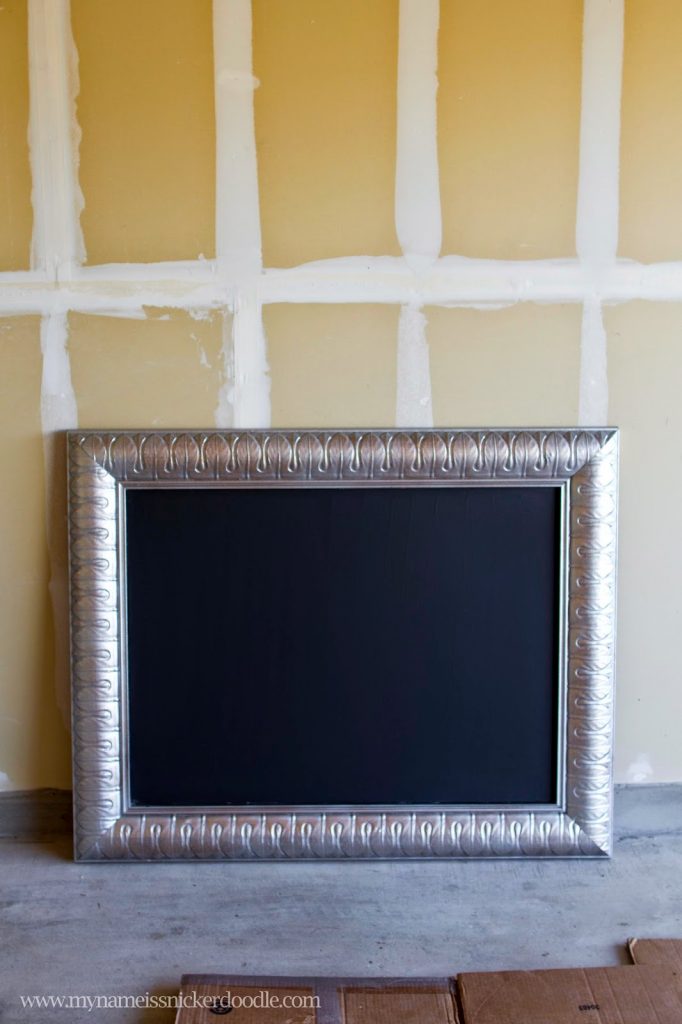
I LOVE IT! It’s my favorite ‘art’ piece we have in our home! We hung it in our dining room because it’s pretty visible from our kitchen, living and formal room. Don’t mind our mix match chairs in the pictures below. We’ve got a ways to go in our decor department around here!
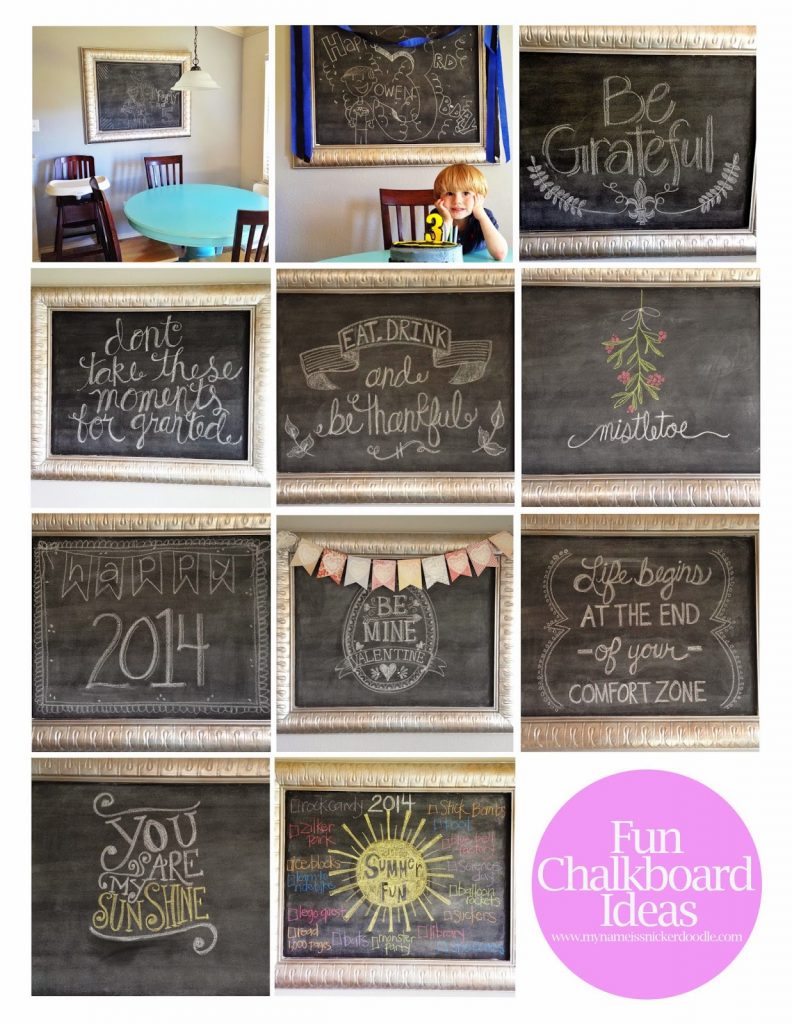
I mostly use inspiration from Pinterest for my chalk art. It’s fun to use it for special occasions, holidays and just every day reminders! I use regular ol’ chalk, nothing fancy and it works wonderfully. When I clean it off for something new, I just use a damp cloth to wipe the surface. Every now and then, I’ll give it a good wash with a wet rag.
This post is linked up – Real Housewives Round Up, Weekend Re-Treat, The Party Bunch, Friday Finds, The Creative Collection, Link Party Palooza, Show And Tell, Monday Funday, Totally Talented Tuesdays, Wow Me Wednesday, Whimsy Wednesday, Creative Exchange,




cala
December 18, 2015 at 4:04 amI really liked the old painting :-/