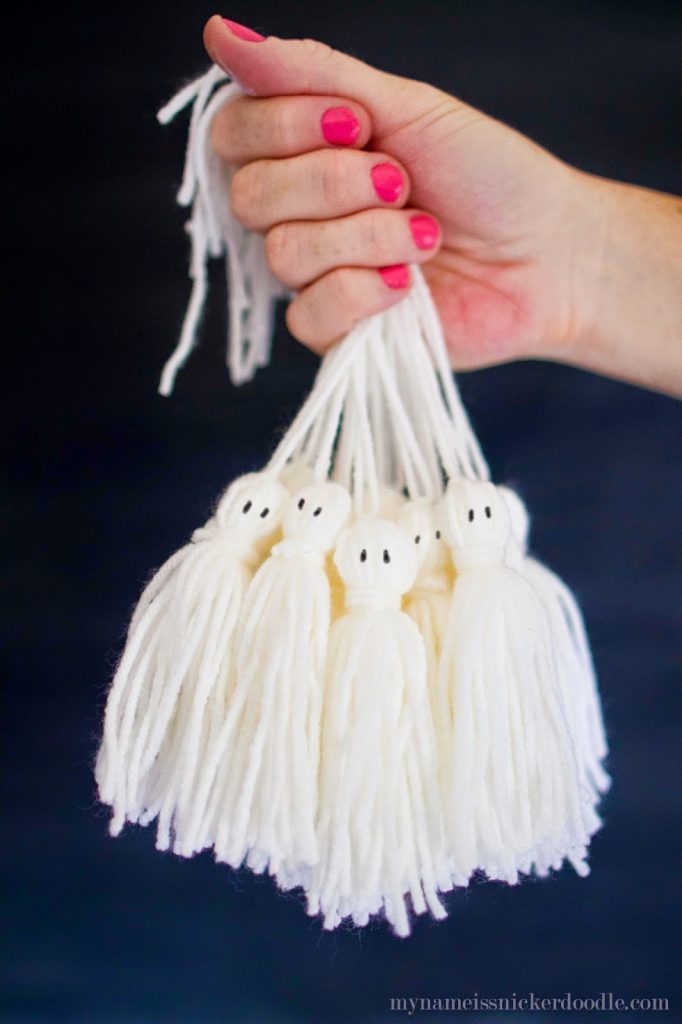
I already had the yarn at home and was excited to get home to see if they were as fantastic in real life as they were in my head. They were even better! I took the below pictures and as I was uploading them to the computer, I had the thought (my crazy mind has lots of pop up thoughts) to check Pinterest to see if these had been done before. And the answer is yes. Not such an original idea. The good news is there weren’t too many and mine are different so yeah for that!
You probably have all of these supplies already and if not, they are not hard to come by.
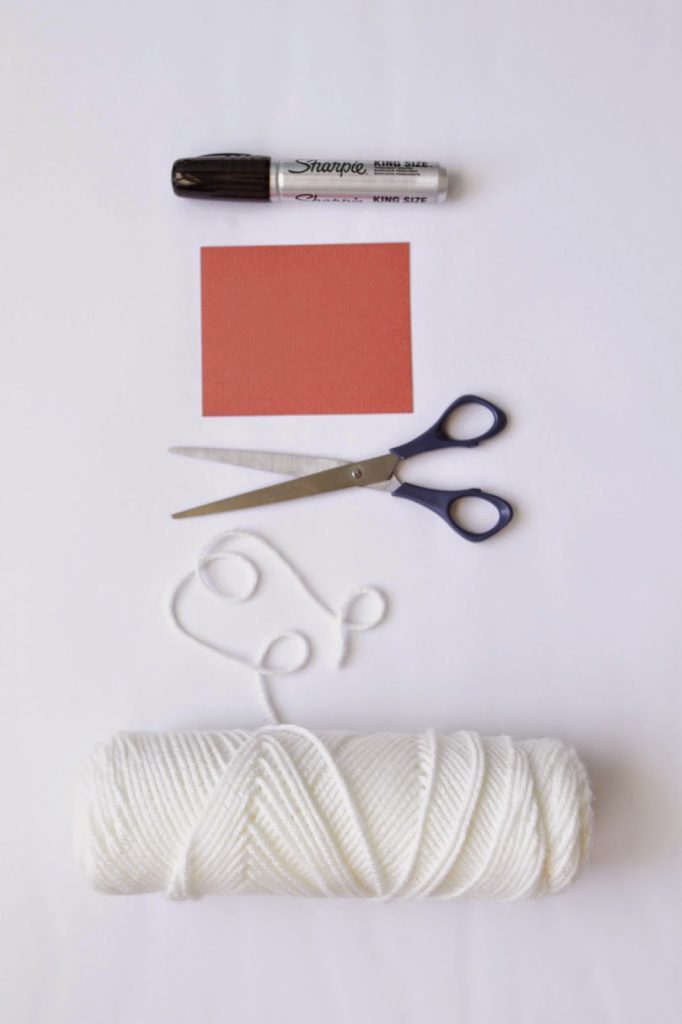
Here are the supplies you will need.
- White or cream yarn
- Scissors
- Card stock cut into a 4×4 or 5×4 (The tassels in the above picture are 5″ long and 4″ long in the tutorial below.)
- Black permanent marker

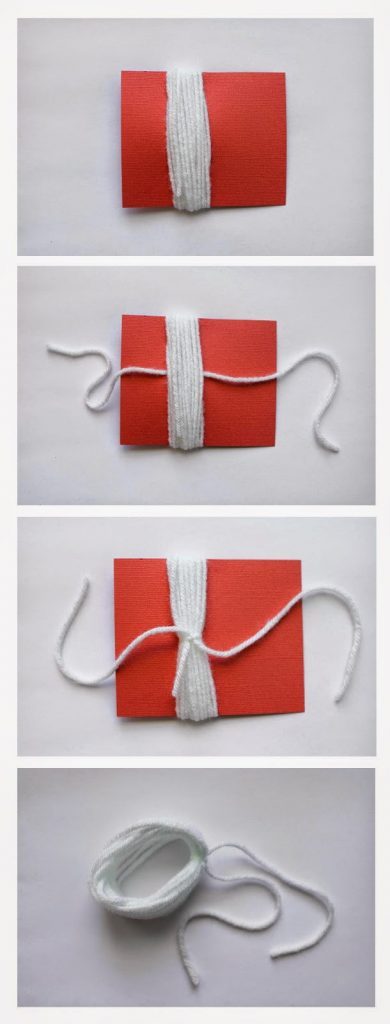
How To Make Ghost Tassels

5. Cut a 6″ piece of yarn and and tie a double knot around the top 1/4 of the tassel. This makes the ‘head’ of the ghost.
6. Using the tail of this piece, wrapped it around a few times creating the ‘neck’.
7. Tie it in a double knot and trim any loose ends.
8. Cut through all the loops.
9. On the opposite of your ‘neck’ knot, draw on two eyes using a permanent marker.
Eek! Aren’t they just the cutest! I cannot wait to show you what I had in mind for these ghostly friends. Check back tomorrow for one way you can use them this Halloween season!
I think you’ll like these other Halloween Projects and recipes, too!


