Fabric Covered Dream Board DIY

I hope I’m not shocking anyone too much, but yes, I’m posting about a project and not a recipe!  I told you I was going to expand and get back to more projects and every day stories.  It was actually my husband who thought of this idea so I can’t take full credit.

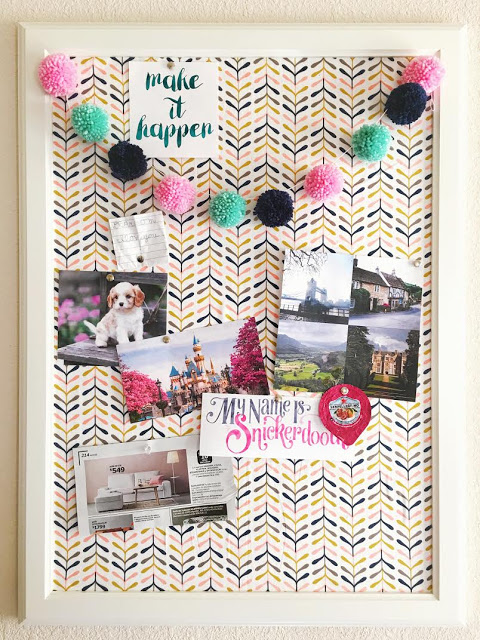
 This dream board is completely adorable and super easy to make! | mynameissnickerdoodle.com

We really started to focus at the end of summer on some goals and dreams we had.  Instead of just thinking about them, we wanted something visual to focus on.  I remember my dad always doing this in some form or fashion as I was growing up.  If you can “see” your dream every day, it helps you on focusing on making those dreams and goals come true.

My husband and I wanted something more than just a poster board hanging in our room so he came up with these super easy (and cute) boards.  It’s not as cheap as a poster, but still pretty inexpensive and you can use it over and over again.

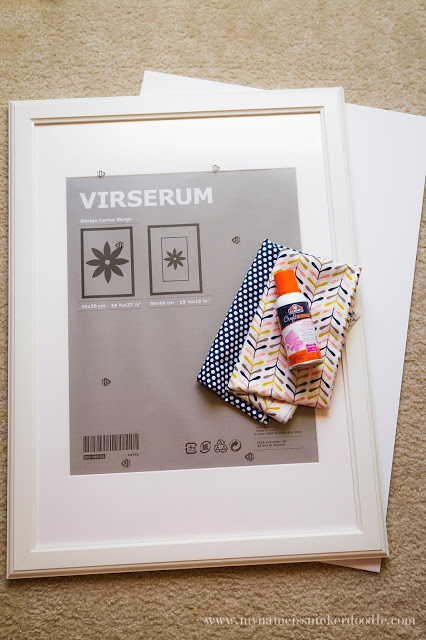
Use these simple supplies to make the most adorable dream board! Everyone needs to dream more and make things happen! Follow the link for the how to on this project. | mynameissnickerdoodle.com
Here is what you need…
Frame (We picked up two white classic frames at IKEA (I think they’re like $20).  You really could do any size but we chose 19×27.)
Art Board (We picked ours up at Walmart) Using art board allows you to push pins into it.
1 yd Fabric
Spray Adhesive (Also purchased at Walmart)
Scissors
Directions
1. Remove matte and glass from the frame.
2. Use the matte as a guide to cut your art board down to size if needed.
3.  Lay out your fabric, pattern size down and place art board in the center.  (Iron your fabric before hand if it’s wrinkled.)
4.  Trim fabric around the art board leaving 2 inches around all edges.
5.  Move art board off the fabric and generously spray one side with adhesive.
6.  Immediately place back down onto the fabric and flip it over to smooth out any creases.
7.  Flip it onto the back side and lightly spray the edges of the fabric and fold over the art board.
8.  Place board into the frame and press down closures.
9.  Hang and use push pins to hang your pictures.
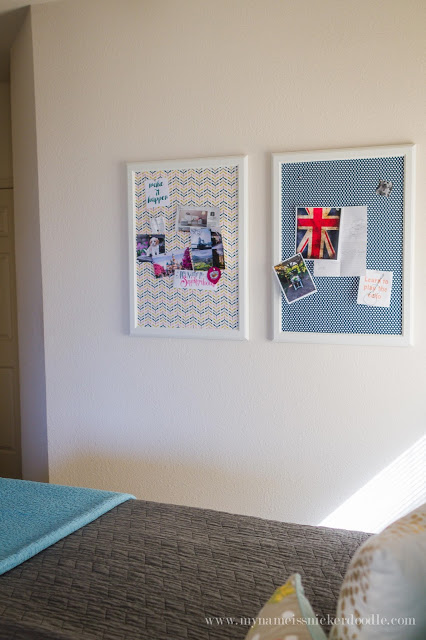
Dream boards are super easy to make! | mynameissnickerdoodle.com

We’ve got more goals and dreams than this, but I removed them for the sake of some privacy.  The internet doesn’t need to know everything!
We hung them in our room so we could see them every day.  I recently added this pom pom garland because it just makes me happy!  When it comes to your own board, pin whatever dreams and goals you have.  It truly will make a big difference in your life!

You Might Also Like