Over the weekend I had to pick up a few things at the store I forgot to get the day before. Sound familiar? I typically have a certain order that I go in on a typical visit, but since I was just there for random items I happened upon a little Halloween baking display.
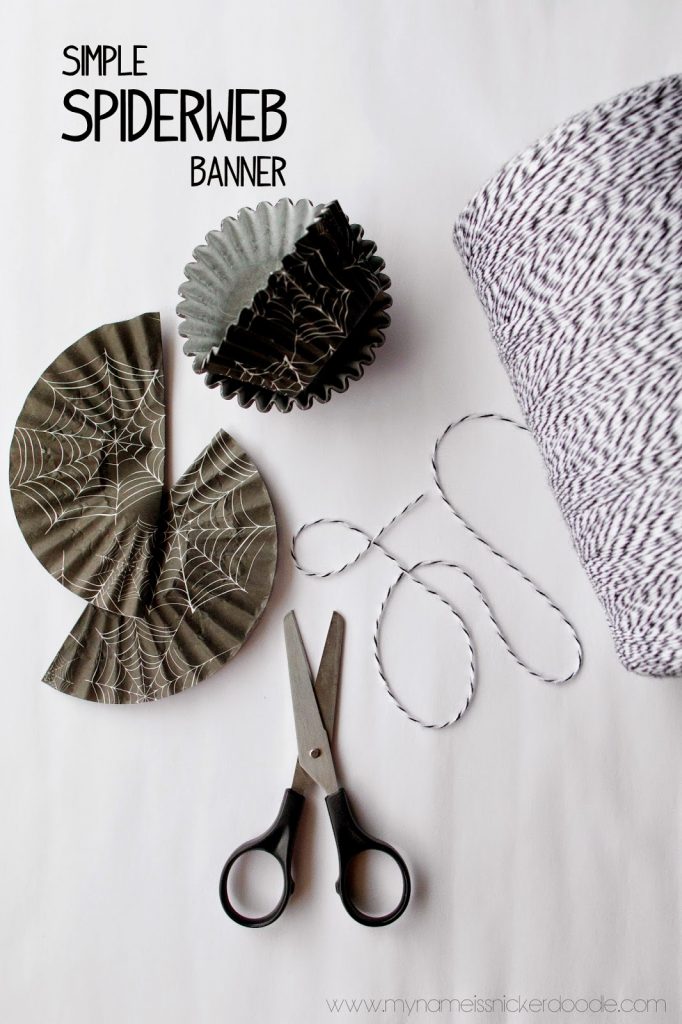
These spiderweb cupcake liners caught my eye and when I saw the price ($1.49) I couldn’t resist! I knew exactly what I was going to use them for and it wasn’t for baking.
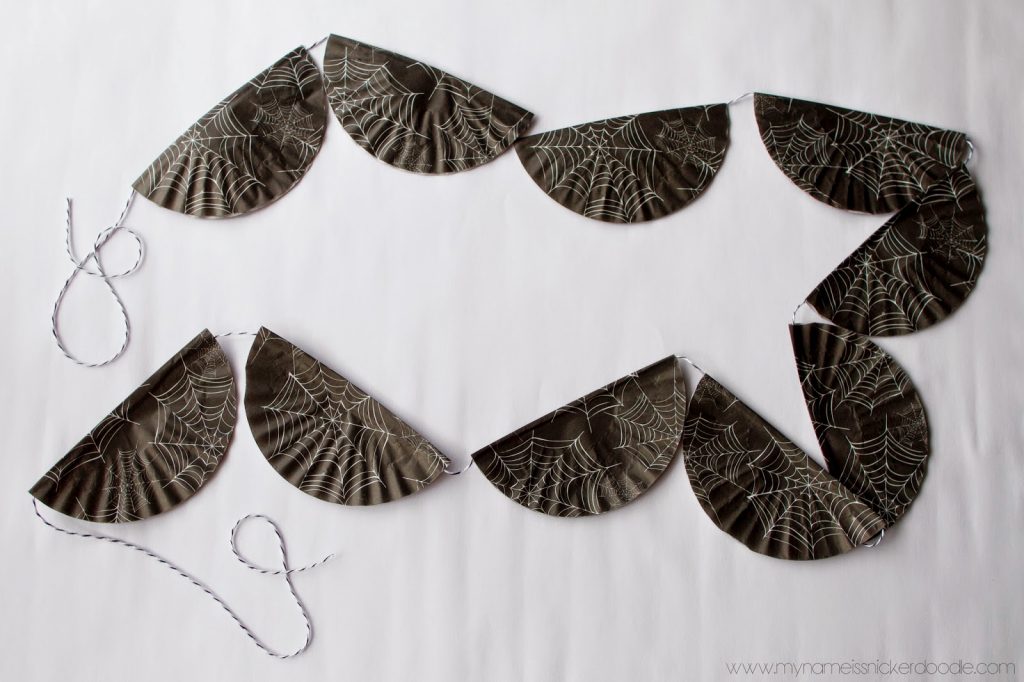
I’ve been wanting to create a cupcake liner banner for ages for two reasons. 1.) They are totally adorable! 2.) They are so simple to put together. Really easy I promise!
Spiderweb Cupcake Liner Banner
Materials
Paper cupcake liners (any Halloween liners will work!)
Bakers twin, yarn or ribbon
Adhesive (I pulled out all the stops and borrowed my sons Elmer’s glue stick!)
Scissors
1. Measure how long you want your banner to be and add on 12 inches to that number.
2. Take out your liners and flatten them out. My pack had 24 and I only used 10.
3. Fold each liner in half.
4. Place fold over twine 6 inches in from one end. Completely cover one half of the fold with adhesive and fold over other half. Press down firmly.
5. Place another liner 1/2 inch from the first adhered liner and repeat process until desired length.
6. Tie or tape up for display.
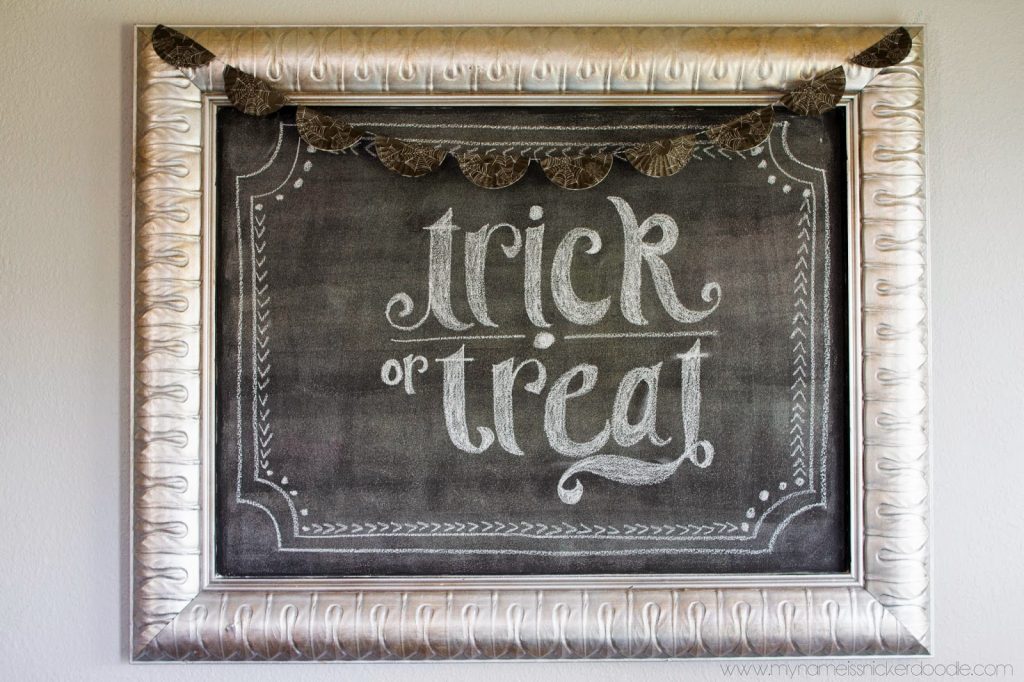
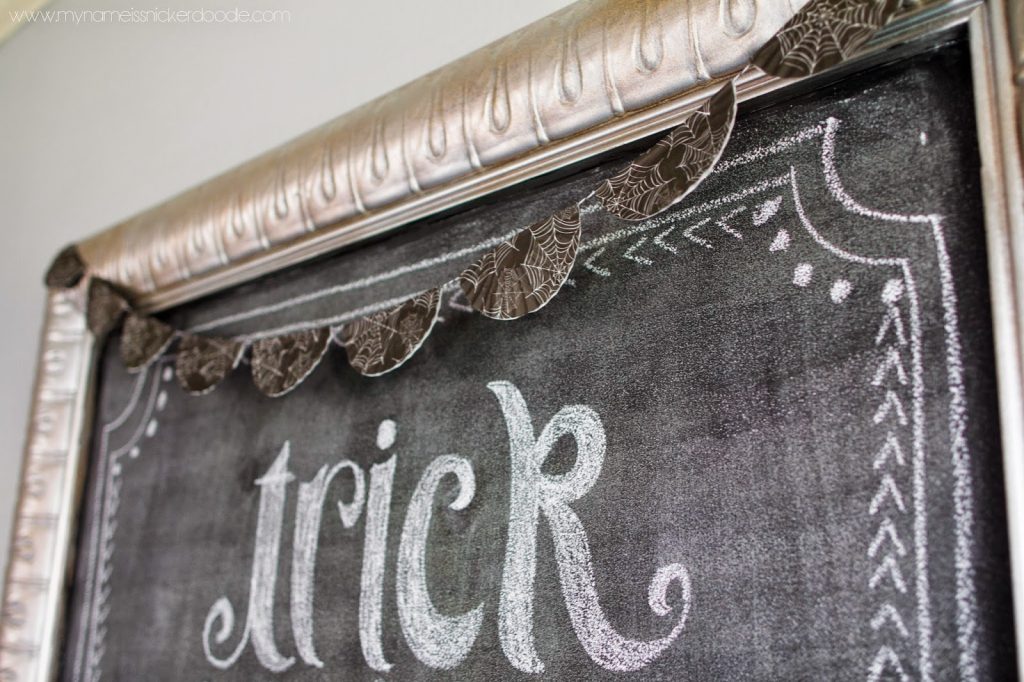
I know that black on black isn’t decor savvy, but in real life this looks amazing draped over my chalkboard.
See. I told you it was super simple and easy. It took me all of 7.2 minutes to do. And did I mention it cost me less than $1.00? Um, yeah!
Now looking at all my Halloween decor, I’ve kind of gone in the black and white direction this year…and loving it!!! I’ll post more of my displays later this week.
This post is linked up at – Totally Talented Tuesdays, The Creative Exchange, Weekend Re-Treat,
